What To Pack For The Death Road Bike Ride: Gear And Clothing Checklist
You start near freezing at 4,700 metres and finish sweating in humid jungle a few hours later. Packing for both ends of that swing is the whole trick.
Use the section recommendations as you read, then tailor the booking choice after the FAQs.
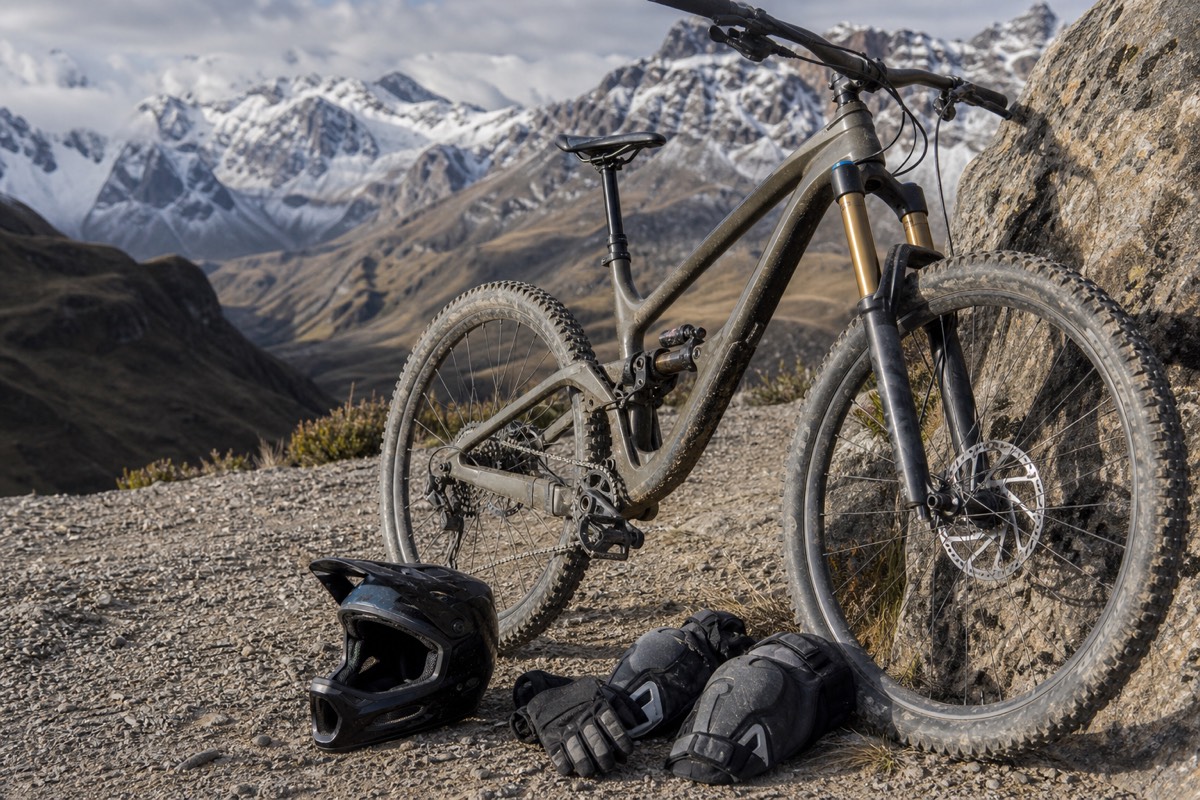
What to wear, top to bottom
Based on the operator's stated inclusions and the ride's 4,700 m to 1,200 m descent.
Quick Booking Choice Compare the shared full-day descent with a private riding day, using actual inclusions and enough time for the return to La Paz.
Check Your Death Road Ride DateWhat Do You Actually Need To Pack For The Death Road Bike Ride?
Pack for two climates: warm layers for the near-freezing 4,700 metre start and lighter gear for the humid jungle at 1,200 metres. The operator supplies the bike, helmet, gloves and protective gear, so your job is clothing you can peel off in stages, sun and rain protection, sturdy closed shoes, a small daypack, a camera, and some cash. Everything should layer.
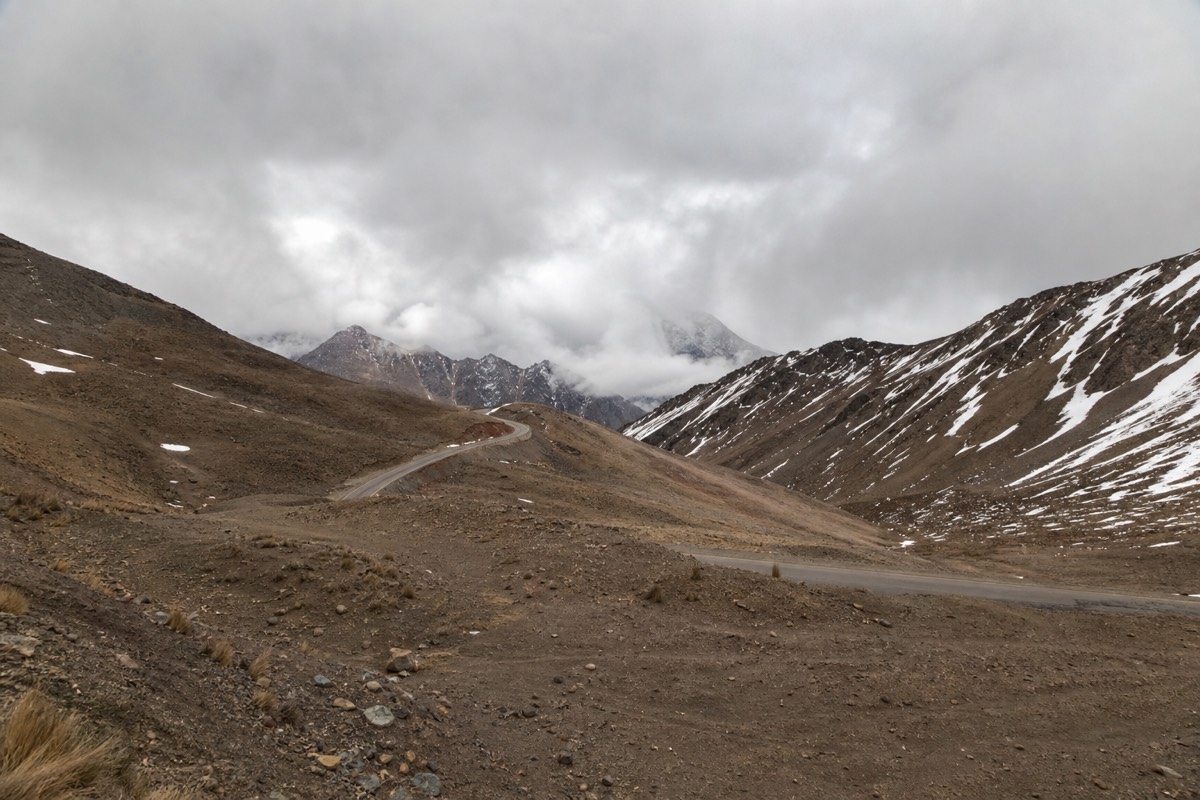
The mistake first-timers make is packing for one temperature. This ride does not have one. It drops about 3,500 metres in a single morning, from cold alpine air into warm cloud forest, so the right kit is a set of layers you add and remove as the mountain changes around you. Get that idea right and the rest of the list falls into place. Get it wrong and you either freeze at the top or cook at the bottom.
Because the North Yungas Road covers so much vertical ground, the support vehicle that follows the group becomes your moving wardrobe: you strip layers off at the stops and hand them into the van. That is also why you do not need to carry much on your back. Every operator we work with at Death Road Bolivia Tours runs that support vehicle, so pack to shed, not to haul.
It helps to split the whole list into two mental buckets: safety and comfort. The safety bucket, the bike, the helmet, the gloves and the body armour, is the operator's job, and it is the single biggest reason to book a reputable one rather than renting a cheap bike and riding solo. The comfort bucket, your clothing, your sun and rain cover, your footwear and your cash, is yours. Once you see it that way, you stop worrying about protective gear you do not need to source and focus your packing energy on the handful of things that decide whether you spend the ride comfortable or miserable.
| Provided by the operator | You bring yourself |
|---|---|
| Quality mountain bike | Layered clothing (base, mid, outer) |
| Helmet | Closed-toe sturdy shoes |
| Gloves | Sunglasses and sunscreen |
| Protective gear (body armour) | Rain shell, especially in the wet season |
| Support vehicle | Small daypack |
| Lunch | Camera or action cam, spare battery |
| English-speaking guide | Cash for tips and extras |
How Do You Dress For A Freezing Start And A Jungle Finish?
Dress in layers you can remove without stopping for long. Start with a warm base layer, add a fleece or light insulation, and top it with a windproof, water-resistant shell for the freezing pass. As you descend, peel the shell and mid layer off at the stops and hand them to the support van, until you are riding into the jungle in a base layer or a short-sleeve tee.
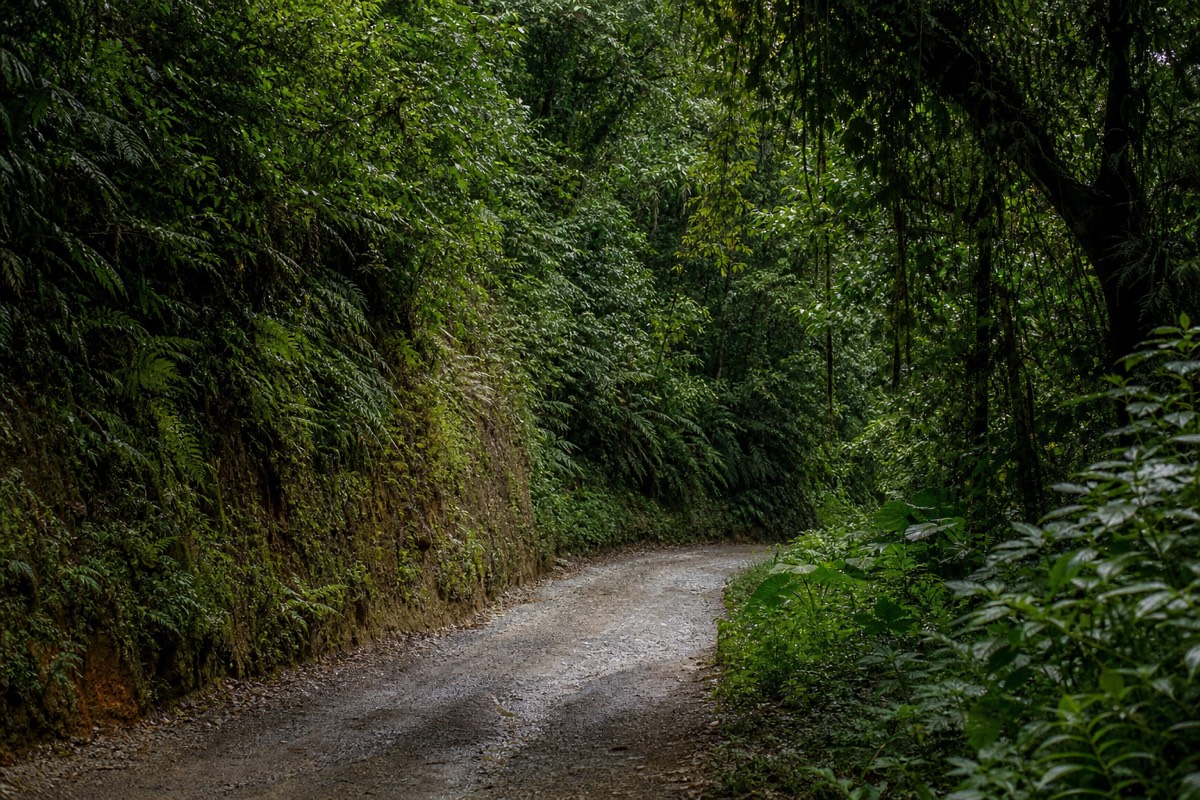
The system matters more than any single garment. A good base layer, merino or synthetic rather than cotton, moves sweat off your skin so you do not get clammy and cold. The mid layer traps warmth for the top of the mountain. The outer shell blocks wind, which is what actually chills you at 4,700 metres, and sheds a passing shower. Because you are handing layers into the van as you go, choose compact layers and adjust them only while stopped, keeping the supplied protection fitted as instructed.
Hands and head are where the cold really bites at the top, out of proportion to the rest of you. Wind chill at 4,700 metres goes straight for exposed fingers and ears, and cold hands make braking harder and less precise, which is the last thing you want on the first cliff sections. The operator provides gloves, but a thin liner glove underneath adds a lot of warmth for almost no bulk, and a buff or guide-approved thin liner that does not alter helmet fit keeps your head comfortable until you have dropped far enough to shed it. Warm extremities at the start are worth more than an extra jacket you will only take off ten minutes later.
| Body zone | Cold top (~4,700 m) | Warm bottom (~1,200 m) |
|---|---|---|
| Base layer | Merino or synthetic long sleeve | Same, breathable as you warm up |
| Mid layer | Fleece or light insulation | Removed, stashed in the van |
| Outer | Windproof, water-resistant shell | Removed, or packable rain shell only |
| Head | Only a liner approved by the guide that preserves helmet fit | Bare under the helmet |
| Hands | Full-finger gloves, liner underneath | Provided gloves alone |
| Legs | Long trousers or thermal leggings | Same, or lighter and rolled |
If you would rather set your own pace and take longer at the layer stops without holding up a group, the private Death Road ride gives you that room. On the standard full-day group ride, the guides build in natural breaks where everyone strips a layer together.
What Goes On The Full Packing Checklist?
The full checklist is short and practical: warm layers plus a shell, closed sturdy shoes, sunglasses, high-SPF sunscreen and lip balm, a buff, a small daypack, water and electrolytes, a camera or action cam with a spare battery, some cash, and a rain shell in the wet season. The operator covers the bike, helmet, gloves and body armour, so you are packing comfort, not safety kit.
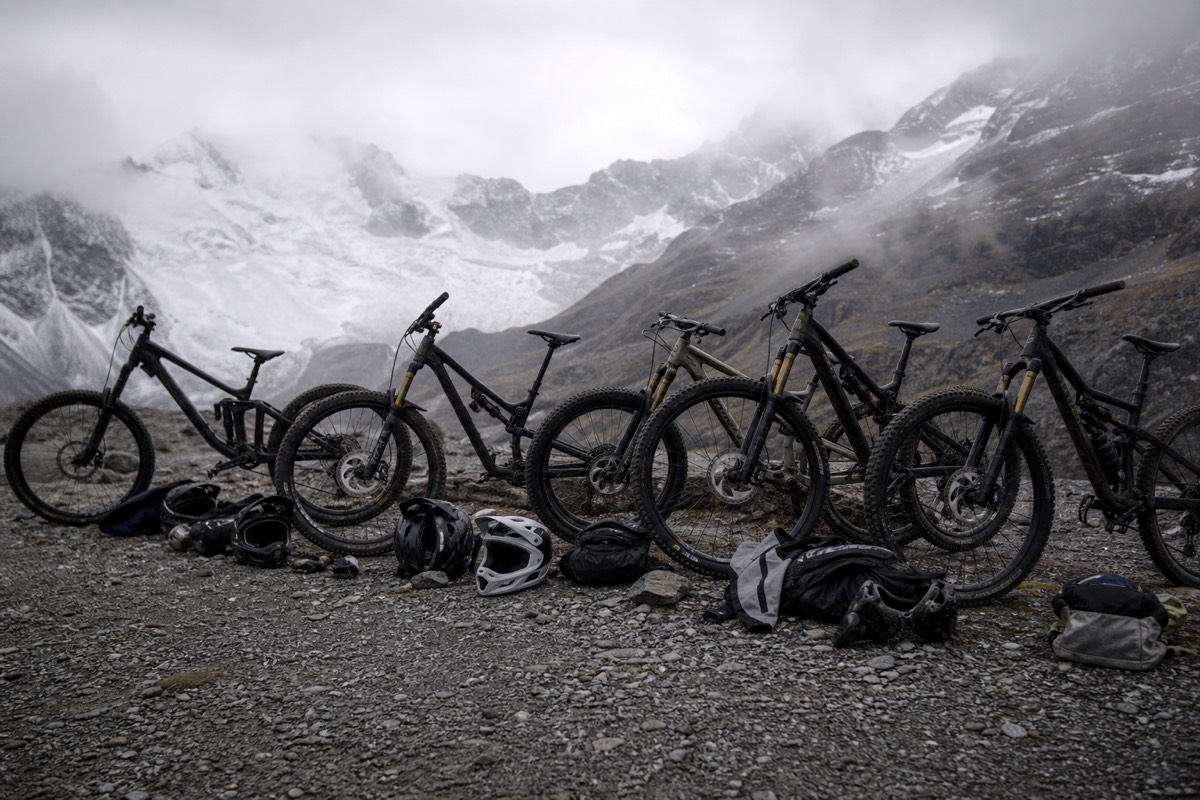
Keep the list lean. You will be moving, warming up and handing things into the van, so anything you would not actually use on the mountain is dead weight. The essentials earn their place because they solve a real problem on this specific ride: cold at the top, strong sun in thin air, dust and glare on the gravel, and the humidity waiting at the bottom. Tie the whole thing to the seasons with our guide to the dry season versus the wet season, which changes how much rain gear you carry.
| Item | Why | Priority |
|---|---|---|
| Warm base, mid and shell layers | Freezing start at the pass | Essential |
| Closed-toe sturdy shoes | Grip on pedals and gravel | Essential |
| Sunglasses | Glare and flying dust | Essential |
| Sunscreen and lip balm (high SPF) | Strong high-altitude sun | Essential |
| Buff or neck gaiter | Cold, dust and sun | Recommended |
| Small daypack | Carry shed layers and water | Recommended |
| Reusable water and electrolytes | Hydration at altitude | Essential |
| Camera or action cam and mount | Photos on the cliff sections | Optional |
| Spare battery or power bank | Cold drains batteries fast | Recommended |
| Cash in small bills | Tips, snacks and extras | Recommended |
| Light rain shell | Wet-season showers | Essential in the wet season |
| Dry change of clothes (in the van) | Comfort on the ride back | Nice to have |
What Footwear Should You Wear On The Ride?
Wear closed-toe trail runners, sturdy trainers or light hiking shoes. They grip the flat pedals, protect your feet on gravel, and stay comfortable through a long day. Avoid sandals and flip-flops, which slip off the pedals and offer no protection, and skip heavy stiff hiking boots, which are bulky and awkward for pedaling. Comfort and a firm sole beat everything else here.
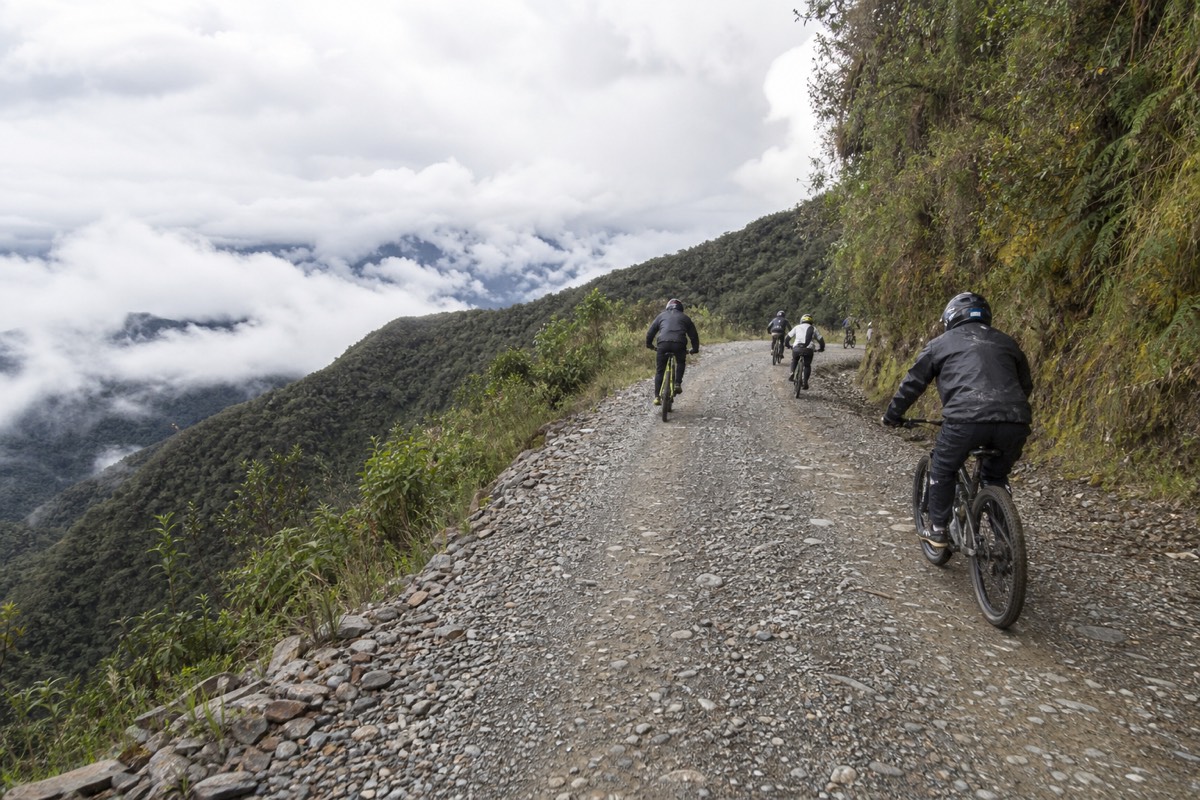
Footwear is one of the few things the operator does not provide, and it is easy to underrate. The bikes use flat platform pedals, so a shoe with a reasonably grippy, flat sole holds your foot in place on rough sections. Your feet also stay drier and warmer in a closed shoe at the cold top, and better protected against the odd rock or scrape lower down. Whatever you choose, break it in before the trip rather than debuting new shoes on a cliff road.
Socks are the small detail that rounds out the footwear question. A warm pair keeps your toes happy at the freezing start, and in the wet season a spare dry pair waiting in the van transforms the long drive back. Skip pure cotton socks for the same reason you skip cotton everywhere else on this ride: once damp, they stay cold. If your shoes are not waterproof and you are riding the rainy months, accept that your feet will get wet and plan to change them at the bottom rather than fighting it. Comfortable feet make a three to five hour descent far more fun than the right jacket ever will.
| Footwear | Verdict | Note |
|---|---|---|
| Trail runners or sturdy trainers | Best all-round | Grip, closed toe, comfortable |
| Light hiking shoes | Great | A little extra support |
| Flat-pedal skate shoes | Fine | Flat sole grips the platform pedals |
| Sandals or flip-flops | Avoid | No protection, slip off pedals |
| Heavy stiff hiking boots | Overkill | Bulky and awkward for pedaling |
How Do You Protect Against Sun And Rain?
The high-altitude sun is fierce even when the air is cold, so pack high-SPF sunscreen, lip balm and sunglasses and reapply at the stops. For rain, a packable water-resistant shell handles dry-season showers, and in the wet season you want proper waterproofs top and bottom plus a way to keep your phone and camera dry. Thin air burns skin fast, so do not skip sun cover just because it feels chilly.
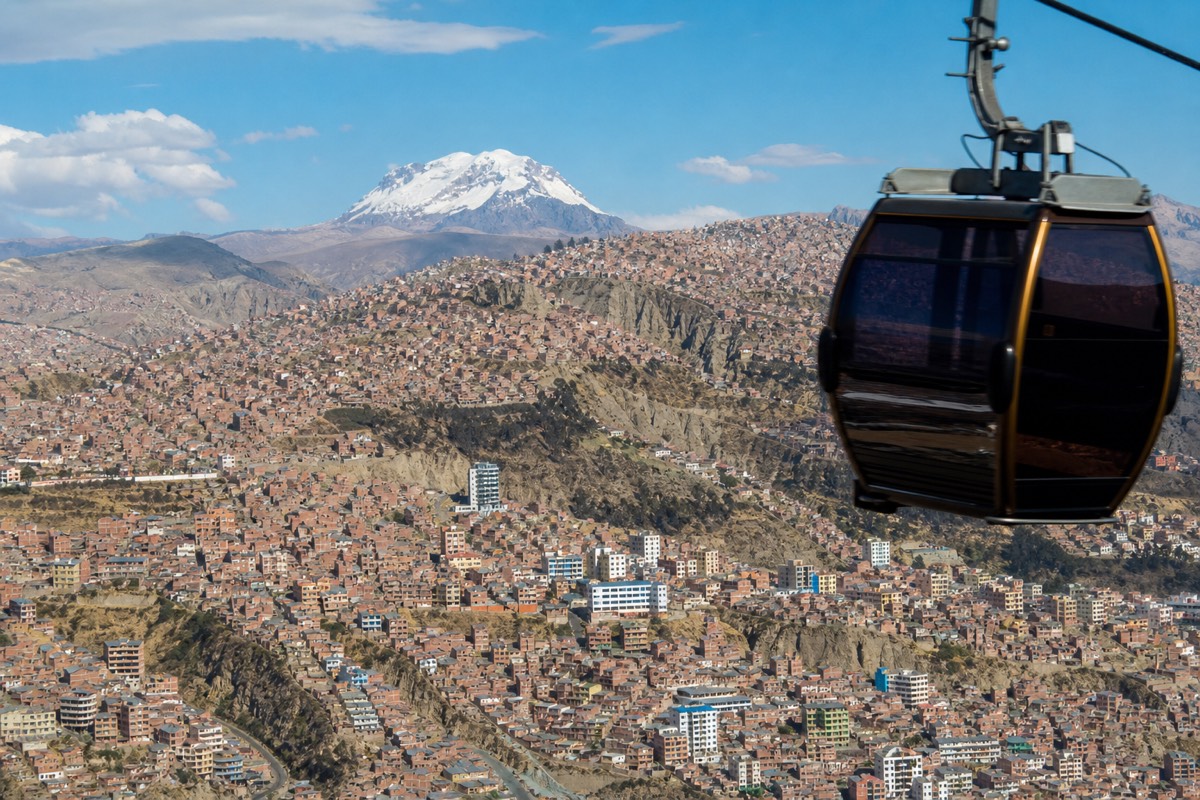
People are often caught out by the sun. At the pass it is cold, so it does not feel like burning weather, but the thin, dry air at altitude lets far more ultraviolet through, and a few hours of exposure adds up quickly on your face, neck and the backs of your hands. Sunglasses do double duty against glare and the grit that kicks up off the gravel. If you are riding in the wetter months, plan around water rather than sun, and bring rain protection as well as sunscreen.
Reapplying is where good intentions fall apart. You put sunscreen on in a warm hotel, then forget it for the rest of a cold, exciting morning, and only notice the damage that evening. Build reapplication into the layer stops: every time you strip a layer and warm up as you descend, that is a natural moment to top up the exposed skin. Lip balm with sun protection matters more than people think at this elevation, as does covering the tops of your ears, which the helmet leaves open. A buff pulled up over the lower face handles sun, cold and dust in one piece of kit.
What Camera Or Action-Cam Setup Works On The Descent?
An action cam mounted on your helmet or chest is the best way to capture the ride hands-free, since you should keep both hands on the bars. A small compact or phone works for the photo stops, where guides pause at the big cliff viewpoints. Bring a spare battery or power bank, because the cold at the top drains batteries quickly, and a secure mount or strap so nothing drops off a cliff edge.
Safety comes first with cameras. The scenery is spectacular, which is exactly why people crash trying to film it; this did not become known as the world's most dangerous road by accident, and a distracted rider on a narrow gravel edge is the real risk. The rule is simple: shoot on the move only with a mounted, hands-free camera, and save the framed shots for the stops the guides build in. A chest or helmet mount keeps your point of view without occupying a hand. Secure every strap and mount, keep a spare battery warm in an inside pocket, and let the pictures happen at the pauses rather than mid-corner. For a sense of when those photo stops fall, our note on what to expect on the ride lays out the day.
How Much Cash Should You Carry, And For What?
Carry a modest amount in small local-currency notes for a guide and driver tip, extra snacks or drinks, optional photo or video add-ons, and any small local fee. Keep it minimal and secure. You do not need to carry valuables on an active riding day, and lunch is already included, so cash is for extras and gratuities rather than the core of the tour.
Tipping is customary for good service, and a small note for your guide and driver at the end is a normal courtesy rather than an obligation. Beyond that, a little cash covers a cold drink or snack, a souvenir, or a photo package if the operator offers one. Small community or road fees can apply in places, so keep some change handy. Card acceptance is patchy out in the Yungas, which is the whole reason to bring physical cash in small denominations.
Sort the cash before you leave La Paz, because there is little chance to break a large note once you are on the mountain. Change money or withdraw in the city the day before, ask for smaller bills, and split them between a couple of pockets rather than one wallet. Keep the amount sensible: this is an active day with a real chance of a spill, so you are carrying enough to cover tips and a snack, not your travel budget for the week. A little forethought here means you are not the person holding up the group at the end, hunting for change, or awkwardly unable to tip a guide who earned it.
| Cash is for... | Why | Notes |
|---|---|---|
| Guide and driver tip | Customary for good service | Small local-currency notes |
| Snacks and drinks | Extra water or treats en route | Small amounts |
| Souvenir photos or video | Some operators offer add-ons | Optional |
| Any small local fee | Community or road fees can apply | Carry small change |
| Emergency buffer | Peace of mind | Keep it modest and secure |
If your Death Road day is part of a longer Bolivia trip, budget cash across the whole itinerary rather than the ride alone. Travelers doing the four-day Death Road and Uyuni trip ending in Chile spend several days out in remote areas where card machines are scarce, so plan denominations for the full route.
Should You Pack Differently For The Wet Season?
Yes. From November to March, add serious rain protection: a waterproof shell and trousers, a way to keep your phone and camera dry, gloves that still grip when wet, and a dry layer waiting in the van for the ride back. The core layering plan stays the same, but rain and road spray become the main enemy rather than cold alone, so waterproofing moves to the top of the list.
Wet-season riding is muddier, greyer and greener, and everything gets sprayed from the road. A rain shell that only shrugs off a light shower is not enough in a real downpour, so upgrade to genuine waterproofs if you are riding the rainy months. Keep electronics in a sealed pouch, expect to finish coated in mud, and pack a full dry change for the long drive back up to La Paz. The rest of the checklist holds; you are just adding a waterproof layer over it.
One practical trick for the rainy months is to plan for drying time as well as staying dry. Nothing you bring will stay perfectly dry on a wet descent, so favour synthetic, quick-drying fabrics that shed water and warm back up fast over anything that soaks it up. A dry bag, or a couple of sealable plastic bags inside your daypack, keeps the layer you are not wearing, plus your phone and spare battery, genuinely dry until you need them. Small habits like these are the difference between a damp but happy ride and a cold, miserable slog.
| Wet-season add-on | Why |
|---|---|
| Waterproof shell and trousers | Frequent rain and road spray |
| Waterproof phone and camera case | Mud and constant moisture |
| Extra dry layer in the van | A warm, dry ride back |
| Gloves that grip when wet | Control on slick bars |
| Clear or low-light eyewear | Grey, foggy light |
Before you finalize the bag, sanity-check whether the ride is right for you at all; our honest take on whether the ride is worth it covers who loves it and who might skip it. Pairing that with getting to La Cumbre from La Paz gives you the full picture before ride morning.
What Should You Leave Behind?
Leave valuables, jewellery, a heavy backpack and open shoes behind. Skip cotton-only clothing, which stays cold and wet and does not layer well, and do not plan on flying a drone without checking the rules for a busy cliff road. Carry only the cash you actually need. The less you bring, the less there is to manage on a fast, active descent with a real edge beside you.
Restraint pays off here. A bulging backpack throws off your balance and just holds layers you could hand into the van instead. Valuables have no place on an active riding day where a fall or a drop is possible. Cotton is the wrong fabric top to bottom: it soaks up sweat and rain and then chills you. And while the scenery begs to be filmed from the air, a cliff road with a group of riders is not the place to improvise with a drone. Pack light, pack smart, and let the support vehicle carry what you shed.
Weather is the one thing you cannot leave to chance, so let the season make your final packing call. In the dry months the risk is being caught cold at the top and sunburned by the bottom, which the layering plan and sun cover handle. In the wet months the risk is being soaked and chilled, which is why the waterproofs climb the list. Either way, the failure mode is the same: too much of the wrong thing and too little of the right thing. Pack for the swing, not for the temperature you happen to feel at the hotel door before dawn.
| Leave behind | Why |
|---|---|
| Valuables and jewellery | Risk of loss on an active day |
| Heavy backpack | Slows you, and unnecessary |
| Open shoes (sandals) | Unsafe on pedals and gravel |
| Cotton-only clothing | Stays cold and wet, poor for layering |
| Drone (without checking rules) | Safety on a busy cliff road |
| Excess cash | Only carry what you need |
Get the layers, the shoes, the sun and rain cover and a little cash right, and you have packed for the Death Road properly. The operator provides the listed bike and protective equipment; you bring comfort and a camera. Sort the bag the night before, adjust to the altitude first, and ride morning becomes the easy, exciting part it should be.